5.1 Reinforcing Positive Behaviour: First Steps
On this page
- Non-Verbal – Step 1
1.1 Step 1 in Two Approaches to Teaching - Verbal – step 2
2.1 Build up a Temporary Tip Record per Period
2.2 Differences Whole-Class Teaching and Working Independently
2.3 Abacus – Making the Group Responsable for Behaviour and Commitment
2.4 Non-Verbally Preventing Tips
2.5 Differences Tips Primary and Secondary Education
2.6 When a Tip Does not Have the Desired Effect - Pitfall When not Taking the First Steps Effectively
- Examples
- Summary First Steps
- Credits
Addressing a pupil about behaviour or commitment starts in Friendly and Fair Teaching (FFT) with the Behaviour Management Strategies: First steps. Reinforcing positive behaviour is divided into two steps: non-verbal and verbal. Most disruptions are resolved by teachers using these two steps. These steps cost pupils no time and require little effort from the teacher.
I first address a pupil’s behaviour or commitment non-verbally. If necessary, I then address the pupil verbally. I record these verbal instructions per pupil on a list per period. By recording them, I show that the instruction is not optional and, in a friendly and fair way, I set my boundary for each pupil. I make it clear that I am not rejecting the pupil, but the pupil’s behaviour. The result is a lesson with few disruptions.
Introduction video
For more information check out our other introductory videos here.
Current approach:
How do I now address students on behaviour and commitment?
Future approach:
How do I address students on behaviour and commitment in the future?
Introduction
‘Behaviour Management Strategies: First Steps’ is one of the two modules within the perspective ‘Behaviour Management Strategies’ of Friendly and Fair Teaching.
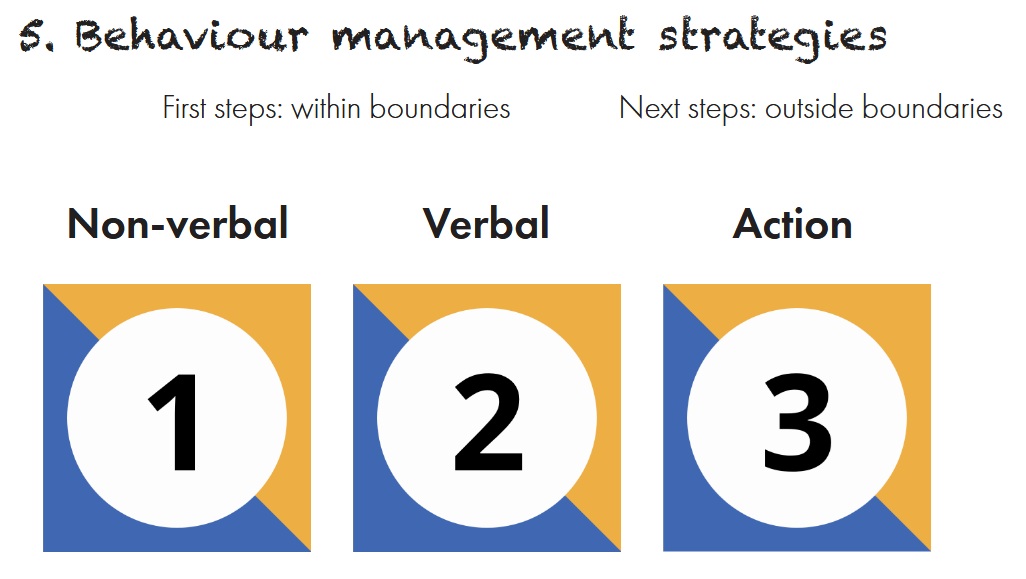
Image: Behaviour Management Strategies (overview)
In this image you can see:
- On the left, the first two steps that belong to ‘Behaviour Management strategies: First Steps’
Non-verbal (step 1) and Verbal (step 2).
This module focuses on the conscious and effective use of these first two steps. With the first steps, you address a pupil non-verbally or verbally on behaviour or commitment. In the first steps, the pupil’s behaviour is still within the boundaries you have set. - On the right, you see the third step that belongs to ‘Behaviour Management Strategies’.
At this point you take Action. In the third step, a pupil has crossed your boundary and it is necessary to take action. This module focuses on steps 1 and 2
Steps 1 and 2 derive their strength from step 3. Because of steps 1 and 2, it is less often necessary to move on to step 3. For this reason, FFT refers to the first two steps as preventive.
- The first non-verbal step feels like using a remote control: you reinforce positive behaviour silently. You make a gesture, show an image, or position yourself elsewhere in the classroom, and the pupil’s behaviour or commitment changes.
FFT advises starting with the non-verbal step using a series of gestures (see explanation below).
If the first two gestures in a series lead to an improvement in behaviour, you make the Compliment gesture.
If your non-verbal gestures have no effect, you apply the second step. - The second step is where you clearly state your boundary verbally.
FFT advises doing this by giving a ‘Tip’ (see explanation below).

Within FFT, taking the next step does not feel like escalation. Using these three steps allows you to remain calm and act deliberately.
In this module, we assume that you already have your own way of addressing students non-verbally or verbally. See what follows as a proposal to refine your existing approach. You do not need to let anything go; you are building on what you already do. Feel free to experiment with our advice and adapt it to your own practice.
1. Non-Verbal – Step 1

Figure: non-verbal (overview)
For many teachers, non-verbal addressing pupils is unfamiliar territory and can therefore feel challenging. If you remain calm and friendly when addressing, you can bring unwanted behaviour to a stop.
Before using non-verbal series of gestures, you will have discussed the following with your pupils:
- With the ‘Framework‘, you indicate what you expect from pupils in general.
- With the ‘Triangle‘, you indicate what you expect from pupils for each approach to teaching.
If a pupil ignores these agreements, choose one of these three series of gestures reinforce positive behaviour non-verbally.
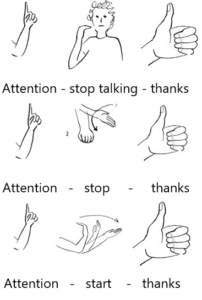
Figure: non-verbal reinforcing positive behaviour
For more information about these series of gestures, see the page ‘Using Gestures’.
When you address a pupil non-verbally using a series of gestures, you do not say the pupil’s name. This is more pleasant for the pupil than receiving a verbal warning. Saying a pupil’s name can be experienced as humiliating or can provoke oppositional behaviour in some pupils. This happens more often with pupils whose names are frequently mentioned by other teachers.
By using a friendly series of gestures to ask a pupil to stop disrupting or to get started on their work, you avoid all of this.
Body language
FFT distinguishes between reinforcing positive behaviour with series of gestures (this module) and ‘Communicating through gestures as well as body language‘.
If this distinction is not clear, read about the connection between these two aspects in the chapter ‘Using Body Language Advice for teachers‘.
1.1 Step 1 in Two Approaches to Teaching
These series of gestures are effective because pupils know what the next two steps will be. If they do not respond appropriately: you then give a verbal ‘Tip’. If giving a ‘Tip’ is also ineffective, you subsequently ask the pupil (usually after the second ‘Tip‘) to write a ‘Future Behaviour Letter’.
Below are some differences between non-verbally reinforcing positive behaviour during whole-class teaching and independent work.
Teacher-Centred Education – Whole-Class Teaching

During whole-class teaching, you:
- explain content,
- lead a class discussion,
- ask pupils to complete an exercise that connects to your explanation.
When you are explaining or leading a discussion, you are expressive and draw attention. You stand in a central position in the classroom and are able to reach pupils at the back as well. You communicate both non-verbally and verbally, as if you are speaking two languages at the same time. This makes your instruction calmer and more expressive, helping pupils to concentrate better and keep their attention on the lesson.
If, during whole-class teaching, a pupil disrupts your explanation, you briefly pause your instruction and then make a series of gestures (Stop talking, Stop disturbing, or Start working). In most cases, pupils respond well to this.
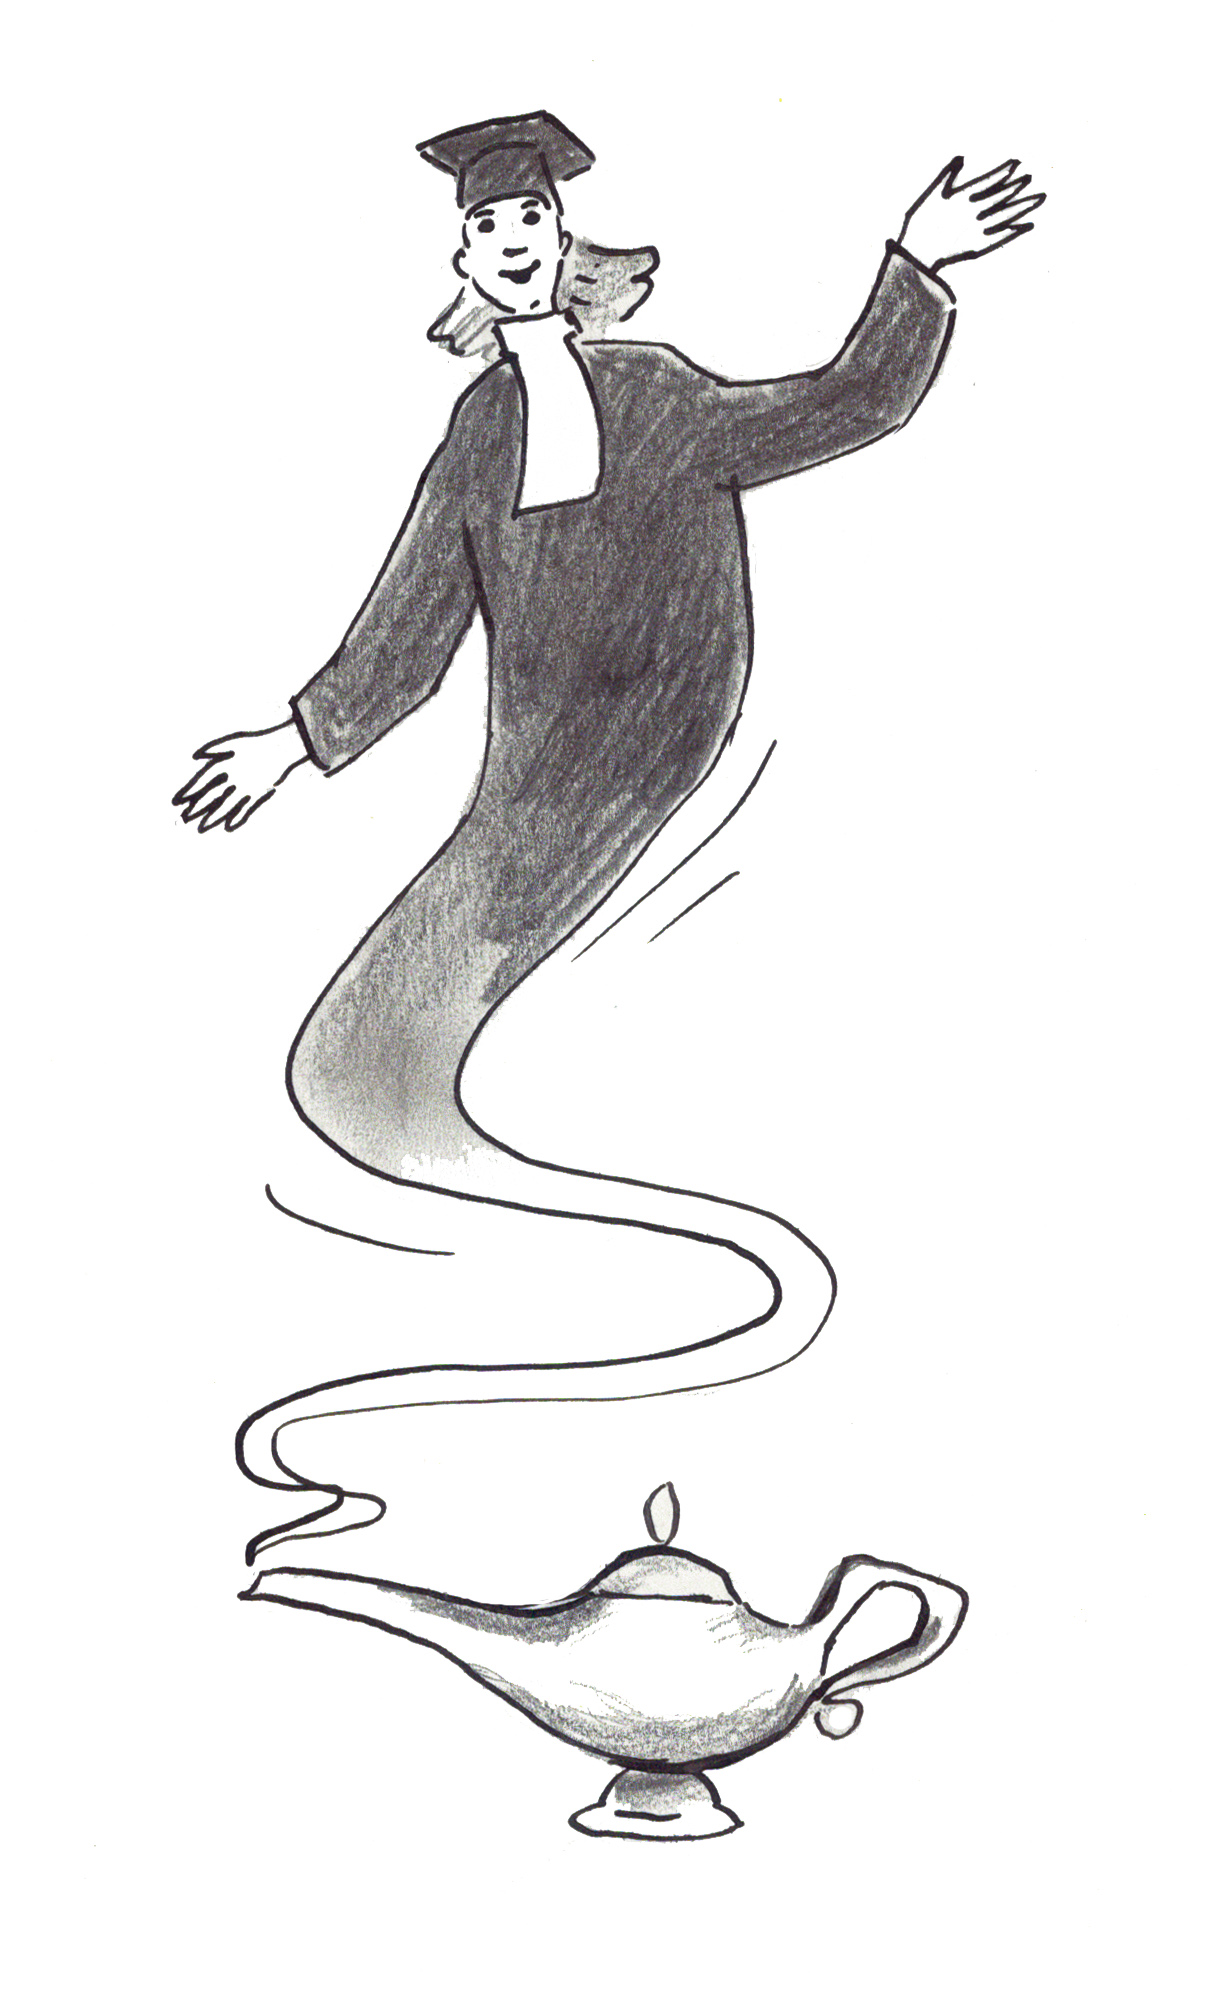
Figure: Genie out of bottle (overview)
Student-Centred Teaching – Working Independently

When pupils are working independently, you adopt a modest presence. Drawing too much attention makes it harder for pupils to work independently. If you want to make contact with a pupil, you walk over and speak quietly. This ensures that other pupils remain focused on their own work.
When you guide using gestures during independent work, you do so close to the pupil concerned. Other pupils do not notice this. The series of gestures you use is intended only for the pupil you are near. During independent work, you mainly use the series of gestures that asks a pupil to start working.
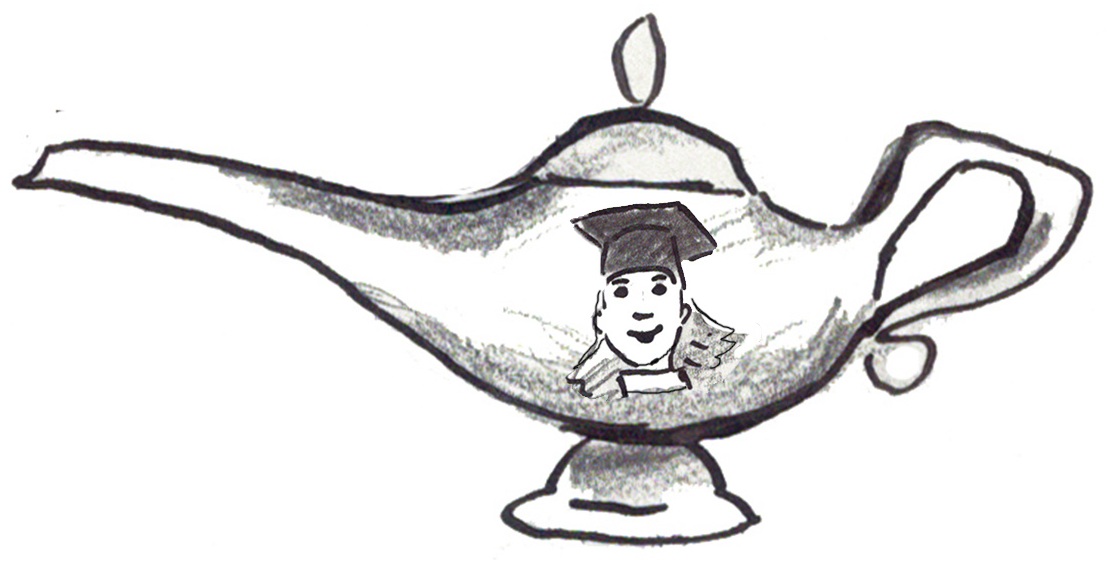
Figure: Genie in the bottle (overview)
2. Verbal – step 2

Image: Step 2 – Verbal (overview)
In education, giving a warning is common practice. A warning is often linked to anger and announces a sanction.
FFT proposal
FFT proposes reinforcing positive behaviour verbally by giving a ‘Tip’. The ‘Tips’ you give connect directly to the instructions you provide using the ‘Triangle’:
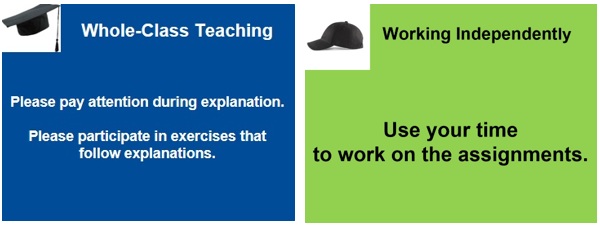
Figure: Both sides of the Triangle
- Please pay attention (during whole-class teaching)
- Please participate in the exercise (During whole-class teaching)
- Use your time to work on the assignments (during independent work)
A ‘Tip’ is positive advice. When giving a ‘Tip’, you can remain friendly in your facial expression. When you give a ‘Tip’, you do not take over any negativity from the pupil.
With every ‘Tip’, you make a conscious choice: do you respond to the behaviour or not? Working with ‘Tips’ helps you avoid reacting impulsively.
When giving a ‘Tip’, you remain friendly. You record the ‘Tip’, making it clear that it is not optional. If the pupil continues to disrupt the lesson, your record shows when it is time to ask the pupil to write a ‘Future Behaviour Letter’. This is why it is not necessary to look angrier when giving a subsequent ‘Tip’.
Tip as a sample
You give ‘Tips’ as a sample: pupils do not know when they will receive one. This keeps them alert and engaged. By distributing ‘Tips’ across pupils, you act fairly and prevent resentment.
Tip with a capital letter
FFT writes ‘Tip’ with a capital letter to indicate that it has a different meaning from everyday usage. A course participant first used the word ‘Tip’ in this way (see FFT Professional Language). Within FFT, a ‘Tip’ is a countable, non-optional step in reinforcing positive behaviour. When the maximum number of ‘Tips’ has been given, you may, if necessary, ask a pupil to write a ‘Future Behaviour Letter’ (step 3).
Writing a letter costs a pupil time and requires them to reflect on their own behaviour and propose a change themselves. By giving ‘Tips’ in a predictable way, pupils know when you will require them to write a ‘Future Behaviour Letter’.
Giving a Tip in different situations
You can give ‘Tips’:
- during whole-class teaching,
- when pupils are working independently,
- for not completing homework.
If you also want to record ‘Tips’ for homework, create a third, separate class list specifically for homework.
2.1 Build Up a Temporary Tip Record per Period
In education, a record is usually only built once serious problems with behaviour or effort have already arisen. In such a record, multiple staff members document all incidents to use later as evidence if a situation escalates. The temporary record used in FFT is not a disciplinary file, but a tool for acting in a planned and predictable way.
Why build a temporary tip record in FFT?
By giving ‘Tips’, you indicate how often a pupil may disrupt the lesson or show insufficient commitment within a period. Within this agreed margin, every pupil is allowed to make mistakes and explore your boundaries. Once the agreed number of ‘Tips’ has been used, you do not give another ‘Tip’, but ask the pupil to write a ‘Future Behaviour Letter’.
Before you start giving ‘Tips’—remember, a ‘Tip’ is positive advice—you discuss with your pupils that you will give a maximum of two ‘Tips’ per pupil per period of eight lessons. This limit applies both to whole-class teaching and working independently. You also explain that during whole-class teaching you record ‘Tips’ in your Tip Book (and transfer them to the whole-class list after the lesson), and that during independent work you record ‘Tips’ directly on the independent work list. See: two lists.
The two lists used to build the record include all pupils, not only those who already show frequent difficulties. If a pupil has received two ‘Tips’ in a previous series of eight lessons, these expire at the start of the next period and every pupil starts again with a clean slate. The FFT record is therefore temporary in nature. It ensures that any action taken within a period is planned and prevents acting out of resentment.
By recording ‘Tips’, you ensure they do not disappear:
Verba volent, scripta manent!” (Spoken words fly away; written words remain.)
It is as if, each period of eight lessons, you give a pupil two biscuit tins, each containing two biscuits (see the blog on this topic):
- one biscuit tin for whole-class teaching,
- one biscuit tin for independent work.
The biscuit metaphor is used because disrupting a lesson can be enjoyable for pupils. If you respond appropriately to disruption, pupils cannot turn it into a game.
2.2 Differences Whole-Class Teaching and Working Independently
You give ‘Tips’ per period (of eight lessons). During that period, you record ‘Tips’ on two lists:
- a list for whole-class teaching,
- a list for independent work.
Each pupil may receive a maximum of two ‘Tips’ per period. These two lists allow pupils some room to occasionally disrupt the lesson or show insufficient commitment, while limiting that space in a fair way.
The way you give ‘Tips’ during whole-class teaching differs slightly from working independently:
Teacher-Centred Education – Whole-Class Teaching
Who do you give a Tip to?
You give a ‘Tip’ to a pupil who:
- disrupts the lesson,
- disturbs a classmate,
- does not pay attention during instruction or a class discussion,
- does not take part in an exercise following your explanation.
Pupils who struggle with authority will mainly receive ‘Tips’ during whole-class teaching.
What kind of Tip do you give?
When teaching the whole class, you use the ‘Triangle‘ to indicate that you expect pupils to pay attention.
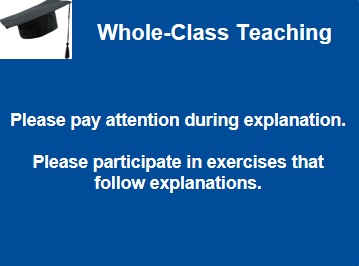
Image 17: Triangle – Please pay attention (overview)
The ‘Tip’ – Please pay attention is therefore most commonly used during whole-class teaching. During exercises following your explanation, a pupil who does not participate properly receives the ‘Tip’ – Please take part in the exercise.
Who is the Tip for?
- On the one hand, a ‘Tip’ helps an individual pupil to engage appropriately.
- On the other hand, by clearly and audibly giving the ‘Tip’, you also make it clear to all pupils how you want the lesson to proceed. A ‘Tip’ during whole-class teaching therefore functions as advice for everyone and has a preventive effect.
Recording Tips first in your Tip Book
When teaching the whole class, you first record ‘Tips’ in your Tip Book—a small notebook in which you write the name of a pupil who disrupts the lesson or does not take part in an exercise. In the Tip Book, you also record the name of any pupil you ask to write a ‘Future Behaviour Letter’.
Why record Tips in a Tip Book instead of directly on a list?
- Writing ‘Tips’ in a Tip Book looks friendlier than writing them on a list.
- It requires less precision than recording them on an alphabetical list.
- It takes less time.
- You avoid accidentally recording a ‘Tip’ next to the wrong name.
- Because the Tip Book is small, you can carry it with you at all times.

Image 82: Tip Book
On the back of your Tip Book, attach a small blue image of the ‘Triangle’. Before giving a ‘Tip’, you can show this image to a pupil. If the pupil improves their behaviour or commitment, there is no need to give a ‘Tip’.
After a day of teaching, you transfer the ‘Tips’ recorded in your Tip Book to the whole-class teaching list. When you record the second ‘Tip’ for a pupil, you write that pupil’s name on the board before the start of the next lesson and ask them to be careful on entry, otherwise a letter will follow.
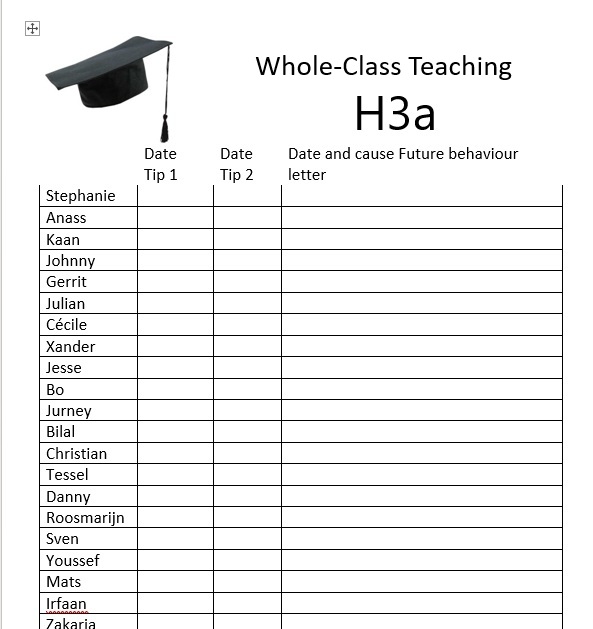
Image 63: Whole-class teaching H3a
Student-Centred Education – Working Independently
Who do you give a Tip to?
You give a ‘Tip’ when a pupil:
- does not start working,
- disturbs a classmate.
Pupils who are not accustomed to working independently will mainly receive ‘Tips’ during independent work.
Note:
If, during the first part of a period, a pupil does not start working but does not disturb anyone, you may leave the pupil alone temporarily. Quietly observing during the first part of a period can be an important preparation for taking initiative. This may seem to contradict the instruction given with the Triangle, which asks pupils to spend their time on tasks. From halfway through the period onwards, however, you do take action and speak to a pupil who has still not started working.
The advantage of this restraint early in the period is that it gives pupils more opportunity to start working of their own accord. If you keep all pupils constantly working, you limit their opportunity to think about their next steps. A pupil who starts working independently is intrinsically motivated and can often make up lost ground quickly.
What kind of Tip do you give?
Before pupils start independent work, you use the Triangle to indicate that they are expected to begin working on the tasks. Your ‘Tip’ then aligns with this instruction.
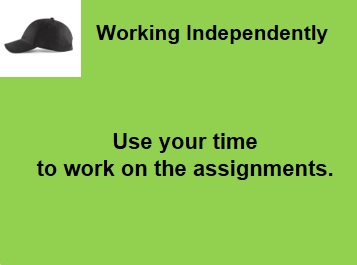
Image 30: Triangle – Please get started on your work (overview)
For independent work, the ‘Tip’ Please get started on your work or Focus on the task is usually sufficient.
Who is the Tip for?
You walk over to the pupil and give the ‘Tip’ in a quiet voice. This ‘Tip’ applies only to the pupil you are addressing at that moment. The rest of the group is not involved. Speaking quietly prevents you from disturbing other pupils during independent work.
Recording Tips directly on a class list
During independent work, you record ‘Tips’ directly on the independent work class list. By walking around with the list, pupils see that you are safeguarding calm and focus so that everyone can concentrate.
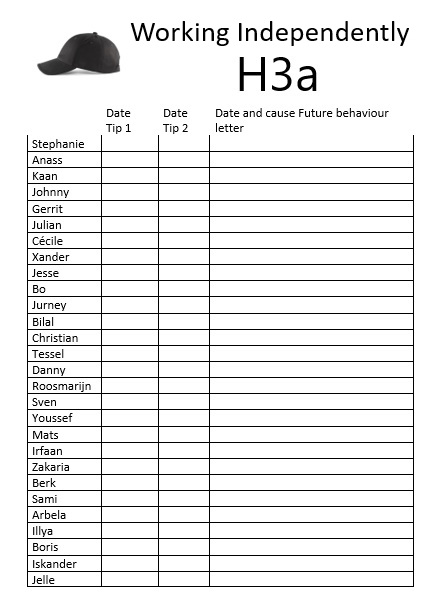
Image 64: Independent work H3a
On the back of the clipboard holding the list, attach the green image of the ‘Triangle’. Before giving a ‘Tip’, you can show this image to a pupil. If the pupil responds positively, there is no need to give a ‘Tip’.
You may record the reason why you asked a pupil to write a letter in the final column of the list on which ‘Tips’ are recorded.
2.3 Abacus – Making the Group Responsable for Behaviour and Commitment
You use the ‘Abacus‘ only after gaining experience during the ‘Practice Period‘. With the ‘Abacus‘, you address the group per lesson on behaviour and commitment. The ‘Abacus’ involves all pupils in the lesson. See: ‘Introducing the Abacus‘.
2.4 Non-Verbally Preventing Tips
Before giving a ‘Tip’, you make eye contact with a pupil and:
- lift the relevant side of the ‘Triangle’ (repeating what you expect from the pupil),
- slowly lift the ‘Abacus’ (showing that you are considering giving a ‘Tip’),
- during whole-class teaching, you may also show the blue image on the back of your ‘Tip Book’ to remind the pupil of the expected working attitude,
- during working independently, you may show the green ‘Triangle’ image on the back of the clipboard holding the independent work list.
If the pupil responds appropriately, you make the Compliment gesture.
These non-verbal signals often prevent the need to give a ‘Tip’.
2.5 Differences Tips in Primary and Secondary Education
Tips in Primary Education
In primary education, you teach the same class all day. Divide the day into parts and determine the maximum number of ‘Tips’ per part—for example per lesson (language, maths, English) or per half-day (before break, after break, afternoon). Clearly conclude each period, for example by giving a compliment if pupils were initially unsettled but later worked well. At the start of each half-day period, reset the ‘Abacus’ to its starting position (zero ‘Tips’). At the beginning of each new period, ask pupils again to keep the ‘Tips’ in the green together.
Tips in Secondary Education
In secondary education, a lesson usually lasts one or two hours. After each lesson, you part ways. In the next lesson, you start again positively with the ‘Abacus’ in the starting position (green).
2.6 When a Tip Does Not Have the Desired Effect
What do you do if a pupil does not respond appropriately to a ‘Tip’? For example:
- The pupil continues to disrupt the lesson.
- The pupil does not start working.
See: Pupil continues to disrupt.
3. Pitfall When Not Taking the First Steps Effectively
Four pitfalls follow. The following approach has been chosen for each pitfall: First, a brief description, then what happens because of the pitfall. Then, why the pitfall is counterproductive, and finally, the FFT advice.
Pitfall 1 – Letting everything run its course and accepting unrest
- You allow pupils to disrupt the lesson.
- You then resemble a fakir lying on a bed of nails: impressive, but is it advisable?
- Because you do not intervene effectively, disrupting the lesson becomes rewarding for pupils. Anyone who dares to challenge your authority appears tough and gains support from classmates. Doing nothing is like pouring oil on the fire.
- FFT advice:
Respond to every disruption with a series of gestures. This does not interrupt the lesson and resolves most disruptions immediately and non-verbally.
Pitfall 2 – Warning without consequences
- When you warn a pupil, you look angry and attach no concrete consequence to the warning. You warn more and more often because you want pupils to pay attention, yet you achieve less and less. You make yourself physically larger, frown, and threaten.
- By looking angry and threatening, you may achieve short-term compliance. Threatening is unpleasant. If you threaten frequently, pupils quickly come to see you as an unpleasant teacher who exercises power (some pupils see all teachers this way). By looking angry and warning pupils, you unconsciously mirror and reinforce negative behaviour. You encourage pupils to mirror your threatening behaviour, negatively influencing the lesson. The lesson then enters a negative spiral, with your threats as one of its causes.
- Strategic pupils are not impressed by threats without consequences. Moreover, warnings disturb pupils who are paying attention, making it harder for them to concentrate.
- FFT advice:
Respond immediately to disruptions with a series of gestures and maintain a friendly expression. This prevents lesson interruption and resolves most disruptions non-verbally.
Pitfall 3 – Giving too many Tips during whole-class teaching
- During whole-class teaching, you give a pupil a maximum of two ‘Tips’ per lesson. When you give a ‘Tip’, you write the pupil’s name on the board and place a cross next to it. At the second disruption by the same pupil, you add another cross.
- You then spend most of your time recording ‘Tips’. You have little time to teach.
- Giving many ‘Tips’ is counterproductive: in a class of 30 pupils, you could give up to 60 ‘Tips’ in a single lesson without attaching any consequence. This can occur lesson after lesson. Your pupils cannot concentrate any more.
- FFT advice:
Give ‘Tips’ per period during whole-class teaching. First record ‘Tips’ in your Tip Book, and after the lesson transfer them to the whole-class list. Tell pupils that they can receive a maximum of two ‘Tips’ per period; after that, a ‘Letter about future behaviour’ follows.
Pitfall 4 – Giving a maximum of one Tip per pupil during independent work and recording Tips per lesson
- During independent work, you give a maximum of one ‘Tip’ per pupil per lesson and record these ‘Tips’ on the board.
- You are busy giving and recording ‘Tips’.
- Giving many ‘Tips’ is counterproductive, because the time spent giving and recording ‘Tips’ prevents you from supporting pupils in their work.
- FFT advice:
Give ‘Tips’ per period during independent work. Record ‘Tips’ directly on the independent work class list. Tell pupils that they can receive a maximum of two ‘Tips’ per period; after that, a ‘Future Behaviour Letter’ follows.
4. Examples
Stephanie – Dutch Language teacher at the Pieter Nieuwland College. Stephanie completed the Friendly and Fair Teaching course and received a FFT Diploma:
“Warnings are quite negative. That’s why we started giving ‘Tips’.”
5. Summary First Steps
You reinforce positive behaviour with a smile. Using series of gestures and giving ‘Tips’ (positive advice), you address behaviour in a friendly and fair way.
Using series of gestures effectively
- If a pupil responds well to the first two gestures in a series, you also make the third gesture: the Compliment gesture. With this final gesture, you complete the non-verbal process of reinforcing positive behaviour.
- If a pupil does not respond well to the first two gestures, you give a ‘Tip’. By giving a ‘Tip’, you show that the gestures you used were not optional.
Tips are effective when you:
- align your ‘Tip’ with the instruction given using the Triangle;
- agree in advance on a maximum number of ‘Tips’ per pupil per period, both for whole-class teaching and independent work—this sets your boundary;
- record ‘Tips’ on two lists: one for whole-class teaching and one for independent work;
- during whole-class teaching, record ‘Tips’ first in your Tip Book and transfer them to the whole-class list after the lesson;
- during independent work, record ‘Tips’ directly on the independent work list;
After the third disruption by the same pupil within a period, ask the pupil to write a ‘Future Behaviour Letter’ (You take action – step 3): your boundary has been crossed.
6. Credits
Stephanie Heeren – Dutch language teacher
Origin of the term ‘Tip’
Stephanie taught at the same school where Johan ’t Hart previously taught music (Pieter Nieuwland College, Amsterdam). She followed the FFT course, where she was advised to give a limited number of positive instructions. Stephanie applied this approach in her own lessons.
At the start of the year, she was assigned a group of pupils she had not taught before. These pupils were familiar with Johan ’t Hart’s approach. Stephanie decided to call the positive instructions ‘Tips’. She explained this to her pupils as follows:
“Boys and girls, this year I will be giving ‘Tips’! A ‘Tip’ is a positive advice. The first two are free; the third costs you time!”
The pupils asked whether she would be working in Johan ’t Hart’s way. After she confirmed this, she was able to teach without disruption. Her introduction of ‘Tips’ and of correcting behaviour with a ‘Future behaviour Letter’ is brief and effective.
Linda Timmermans – Music Teacher
Origin of the term ‘Tip Book’
Linda completed the Friendly and Fair Teaching course and teaches music in secondary education. FFT advises teachers to first write down ‘Tips’ in a small notebook during whole-class teaching. Linda named this notebook the ‘Tip Book’. When teaching the whole class, recording ‘Tips’ in a ‘Tip Book’ looks friendlier than recording them directly on a list.
Note:
During independent work, you do record ‘Tips’ directly on a list. By doing so, you implicitly show that you are safeguarding a calm environment in which everyone can concentrate.

